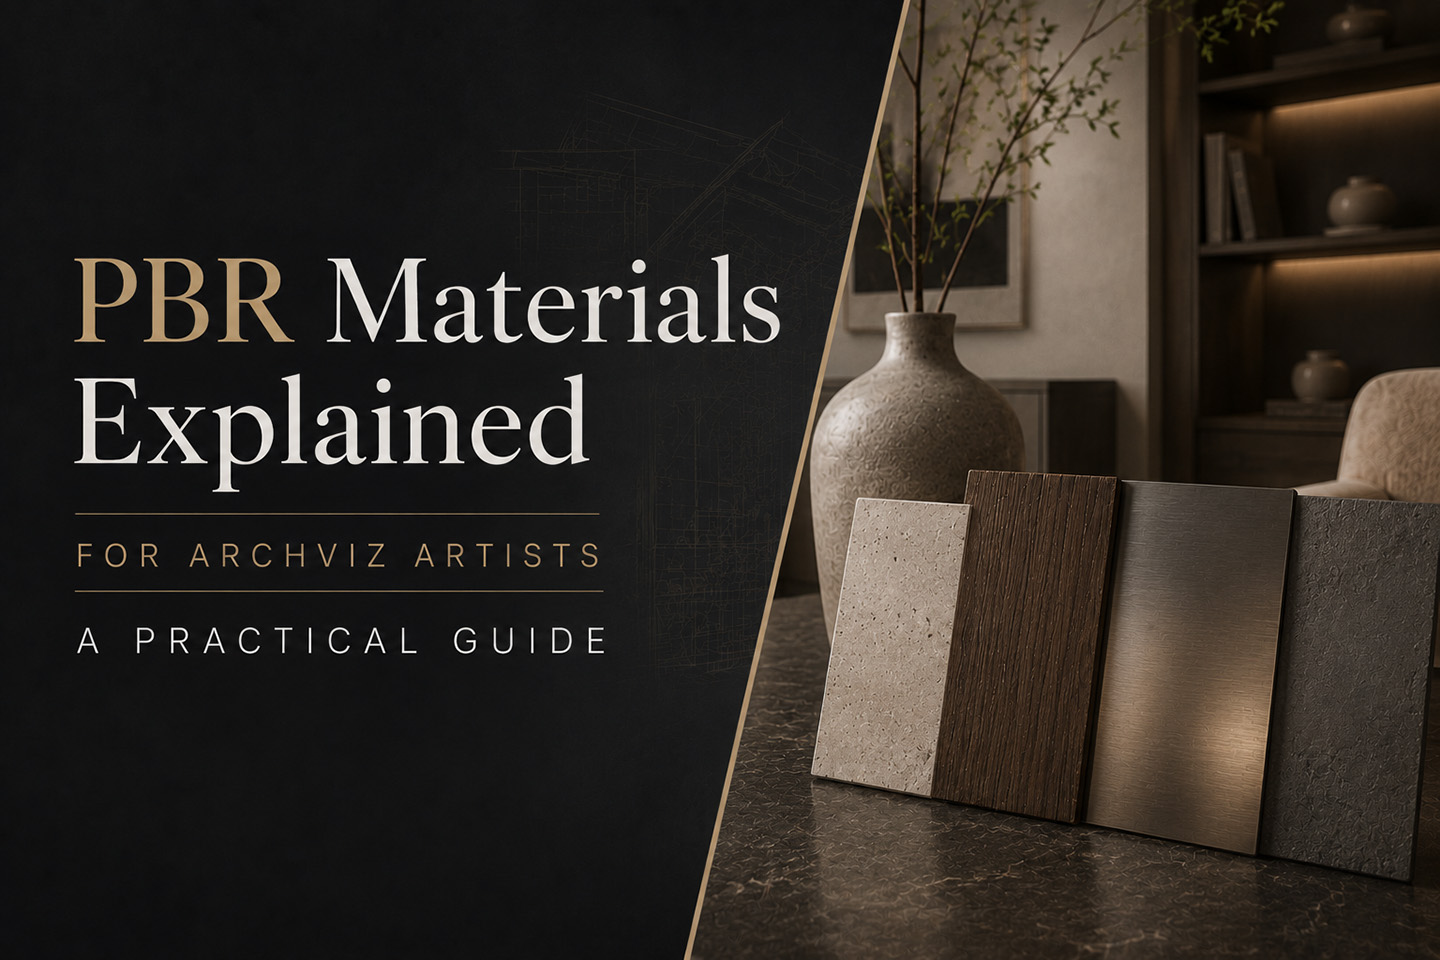
Introduction
If you have worked with 3D assets in architectural visualization, you have probably come across the term PBR materials.
It often sounds more complicated than it really is. Multiple texture maps, technical names, and different setups between Unity, Unreal Engine, and rendering software can make it feel overwhelming.
In reality, PBR is a simple idea.
It is about making materials behave the way they do in the real world.
Once you understand how PBR materials work, everything becomes more predictable. Materials respond correctly to light, scenes look more realistic, and you spend less time adjusting things that should already work.
This guide breaks down PBR materials in a clear and practical way, focusing on what actually matters in archviz workflows.
What Are PBR Materials
PBR stands for Physically Based Rendering.
It is a method used in 3D rendering to simulate how light interacts with real-world surfaces. Instead of manually tweaking how something looks under a specific light, PBR materials are designed to react correctly under any lighting condition.
That is the key difference.
Traditional materials are often tuned to look good in a specific setup. PBR materials are built to behave consistently across different environments.
This is why a properly built PBR material will look believable whether you are rendering a bright daylight scene, a dim interior, or a real-time environment in Unity or Unreal Engine.
Why PBR Matters in Archviz
Architectural visualization depends heavily on realism. Materials play a huge role in how convincing a scene feels.
Without PBR, you often end up adjusting materials for every lighting setup:
- A surface looks good in daylight but too shiny at night
- Colors shift unnaturally under artificial lighting
- Reflections feel inconsistent
With PBR materials, the behavior is more stable:
- Surfaces react naturally to different lighting conditions
- Reflections and highlights feel believable
- Materials remain consistent across scenes
This consistency is especially important when working across multiple renders, animations, or interactive experiences.
In real-time engines like Unity and Unreal Engine, PBR is the standard. Understanding it is not optional if you want reliable results.
The Core PBR Maps Explained
At the heart of PBR materials are texture maps. Each one controls a specific aspect of how the surface interacts with light.
You do not need to memorize everything. You just need to understand what each map does.
Albedo (Base Color)
The albedo map defines the base color of the material.
It should contain pure color information only. No shadows, no highlights, no baked lighting.
For example:
- A wooden surface should show its natural color
- A concrete wall should look flat and neutral
If your albedo map includes lighting or shading, the material will behave incorrectly in different environments.
Roughness
Roughness controls how light spreads across a surface.
- Low roughness means a smooth, reflective surface
- High roughness means a matte, diffuse surface
This map is critical for realism.
Many scenes look artificial because everything is too glossy. Real-world materials usually have variation in roughness, not a uniform value.
Metallic
The metallic map defines whether a material behaves like metal or not.
In most cases, this is simple:
- Metals have metallic values
- Non-metals do not
Metals reflect light differently and often take on the color of their reflections. Non-metals behave more diffusely.
You usually do not need complex gradients here. Most materials are clearly one or the other.
Normal Map
Normal maps simulate surface detail without adding extra geometry.
They affect how light interacts with small features such as:
- Wood grain
- Fabric texture
- Surface imperfections
Instead of modeling every detail, the normal map creates the illusion of depth through lighting.
This keeps your models lightweight while still looking detailed.
Additional Maps (Optional but Useful)
Some PBR materials include extra maps:
- Ambient Occlusion: Adds subtle shadowing in crevices
- Height or Displacement: Adds actual surface depth in high-end rendering
- Emissive: Used for surfaces that emit light
These are not always required, but they can enhance realism when used correctly.
Common Mistakes with PBR Materials
Even with the right maps, it is easy to make mistakes that break realism.
Using Textures with Baked Lighting
If your albedo map includes shadows or highlights, the material will look wrong under different lighting conditions.
PBR relies on clean, neutral textures.
Incorrect Roughness Values
One of the most common issues is overly shiny materials.
Real surfaces are rarely perfectly smooth. Adding variation in roughness makes a huge difference.
Mixing Incompatible Texture Sets
Combining maps from different sources can lead to inconsistent results.
Each PBR set is designed to work together. Mixing them without adjustment often breaks the material.
Ignoring Texture Scale
A material might be technically correct, but if the texture scale is off, it will look unrealistic.
For example:
- Wood grain that is too large
- Tiles that are too small
Always check how textures repeat across your model.
PBR in Unity vs Unreal Engine
Both Unity and Unreal Engine use PBR, but they implement it slightly differently.
Unity
Unity supports multiple rendering pipelines:
- Built-in
- Universal Render Pipeline (URP)
- High Definition Render Pipeline (HDRP)
Each has its own shaders and material setups.
The core principles remain the same, but you need to match your materials to the correct pipeline.
Unreal Engine
Unreal Engine uses a node-based material system.
This gives you more control, but also requires more setup. You connect texture maps directly into the material graph:
- Base color
- Roughness
- Metallic
- Normal
Once set up correctly, Unreal handles lighting interactions very well.
The Key Takeaway
The difference between Unity and Unreal is not in the concept of PBR.
It is in how you apply it.
Once you understand how PBR materials work, moving between engines becomes much easier.
How to Quickly Evaluate a PBR Material
Before using any material in your scene, it helps to do a quick check.
Ask yourself:
- Does the albedo look clean and free of lighting information
- Does the roughness feel realistic or too uniform
- Does the material respond well under different lighting conditions
- Is the texture scale appropriate for the object
This simple evaluation can save a lot of time later.
Why Good PBR Materials Save Time
When materials are built correctly, you spend less time fixing issues and more time building scenes.
Good PBR materials:
- Work consistently across lighting setups
- Require minimal adjustment
- Integrate smoothly into your workflow
- Improve realism with less effort
This becomes even more important in larger projects where small inefficiencies add up quickly.
Using assets that include properly configured PBR materials can significantly reduce setup time and help you maintain consistency across your work.
Final Thoughts
PBR materials are not complicated once you understand the basics.
They are simply a way to make materials behave correctly in response to light.
For archviz artists, this means:
- More realistic scenes
- More predictable results
- Faster workflows
Instead of constantly adjusting materials for each scene, you can rely on a system that works across different environments.
Good materials do not just look right. They respond correctly to light, and that is what makes a scene feel real.